Dragon Age: Origins

Dragon Age: Origins Introduction, Gameplay, and player screenshots.

Project Alpha: Steel Truss Diorama

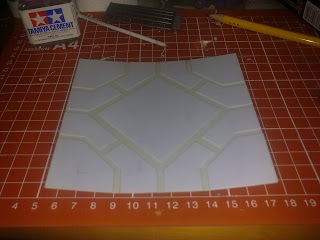
First diorama project to create a maintenance bay.

Hobby Tools and Supplies

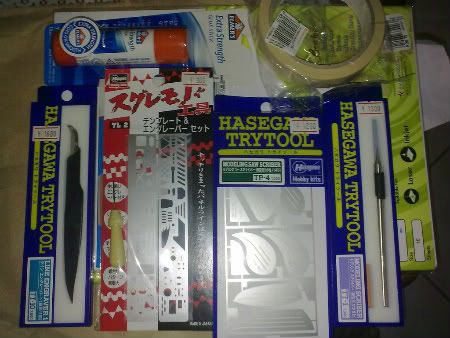
Project tools, equipments, construction supplies that i came across during gundam building and papercrafting.

Master Grade 1/100 GP01-Fb Fullburner Gundam

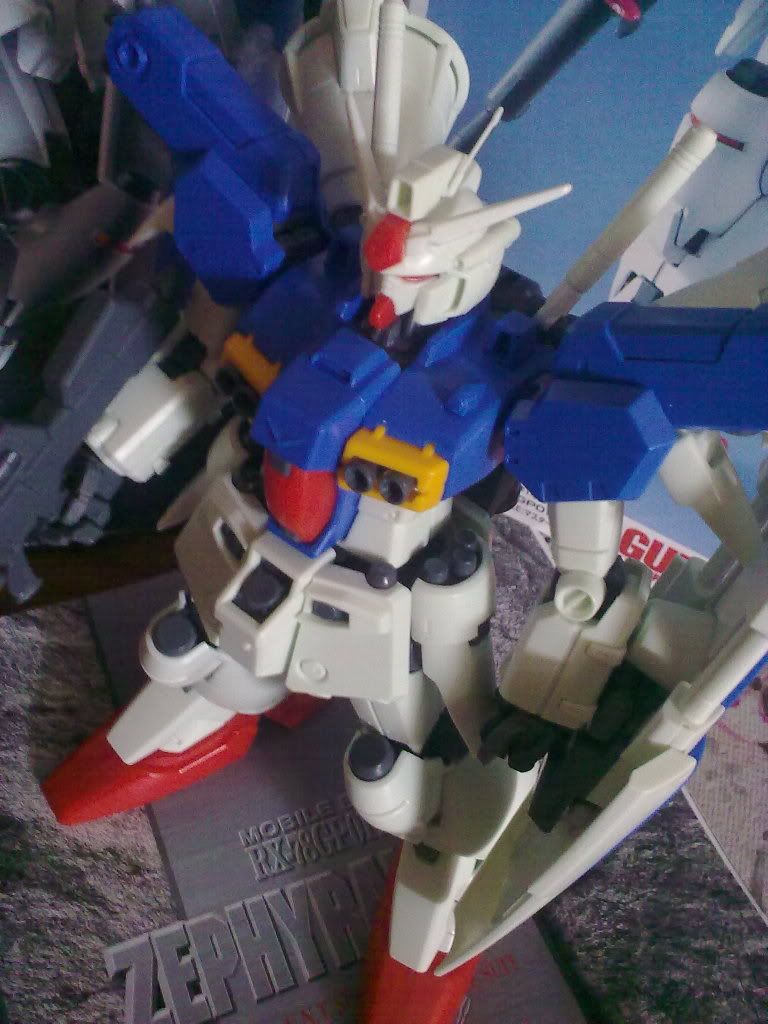
Straight build of Master Grade Gundam 1/100 GP01-Fb. Includes work-in-progress and final build.

Starting my own blog

Just a preview on what to expect from this blog. About the owner and contents of Veni Vedi Vici.

Dec 16, 2011

Tobi Mask - Do it yourself the kick ass way! ^_^

Hi just want to share with you my latest project. My own Tobi mask from the Naruto Shippuden series. This is how the guy looks like. ^_^
Destroy the world!
Materials


White mask (Jabbawockeez mask) or any plain mask
Black Marker
Bond paper
Adhesive tape (Scotch and Double)
Tissue
Glue
Paint Brush
Acrylic paints (Red and Yellow)
Sandpaper
Black cloth (stretchable recommended)
Glue Gun with glue sticks

Procedure

1. Draw lines using a marker on the mask, use the reference tobi mask photo. Adjust if necessary to achieve the spiral effect you want. The pattern would serve as your guide.

2. Add double adhesive tapes in between the line. Make sure you cover most of the spaces in between the lines.
3. Roll some bond paper and and stick it onto the face mask following the lines. It should look this. ^_^. This would serve as the spiral contours of the mask
4. Cover the rest of the mask with rolled bond papers following the rest of the pattern. Use scotch tape when binding loose ends of the rolled paper.

5. Using a paintbrush apply glue (diluted with water) on the surface of the mask. Add tissue paper on the mask. Ensure the mask is wet enough with glue so that the tissue binds to it properly. Repeat the process until the whole mask is perfectly cover with tissue.
This is the part where adjustments can be done on the final contour of the mask.
6. Let it dry. After drying use sand paper to smoothed out the surface of the mask. During this process you may see some defects such as pit holes and crevices. Cover those with glue and tissue, then dry and sand it again.

7. Paint the mask with a white paint base then top it with the desired orange tone. I combined red and yellow paints and adjusted it accordingly to achieve the desired color.
8. Paint the spiral grooves with a darker orange color (one shade darker). This would enhance the spiral look on the mask.

9. Using a glue gun stick the pre-cut black cloth at the back side of the mask. This would function as the holder and the detail of the mask. Ensure that the black cloth has allowance when the mask is worn on the face.

10. Add some line details using a black marker. This is to emphasize the grooves and spiral patterns of the mask.

I will be using this on our Company Christmas party with a cosplay theme. BTW this is my first cosplay attempt. I rented the Akatsuki vest to complete the outfit! This is how the complete costume looks with the do-it-yourself Tobi mask!
Thats not the pants I'll be wearing on the party! :P


Were buddies!


Had enjoyed the whole creation process. I am very much pleased on the outcome!

Ah! Super Saiyan 3 Son Gokou!
Thanks for dropping by!

Dec 5, 2011

HG 1/100 Nataku Assault Custom

Introductions


This is the first of all first. I have been building a lot of gundams from high grades to master grades. But most of them are all snap builts no modifications done, have done some painting but I stick with the kits designed color scheme. Since one of my gunpla goals this year is to join the GBWC 2011 I have decided to do some modifications not just on the kit but also on the color scheme.

Planning

I need a kit off course ^_^ haha! I am a fan of the Gundam wing endless waltz series but most of the modelers use Wing, Heavy Arms and Deathscythe as their base kit and I wanted my entry to be uncommon which leaves Sandrock and Nataku. I'v chosen Nataku for the project because I have not seen a lot (actually none - poor research capabilities I guess haha!) that was modified.

Nataku is basically a melee type MS, Dragon Fangs and twin trident as the main weapon, it does not specialize with projectile weapons as compared to Wing and H-Arms. For this project I want it to to be converted from a melee type to a projectile type MS

Some before pictures (snap built)


Materials and Procedures
I wanted the kit to shoot missiles and have guns but I want to retain the dragon fangs since it is the signature weapon of Nataku. The solution convert the dragon fangs to a gun! :P


made some window holes (left)

add gatling guns from serpent custom and painted it.


Did i mention that it also function as a melee weapon? :P Presenting the trident conversion.
Basically the trident beam holder was removed and mounted on the back side of the fangs.


and viola! Dragon trident fangs! ^_^

to be continued...

Thanks for dropping by.

Nov 29, 2011

Project Beta - pt2

I've become very lazy in uploading work in progresses since i was busy building kits and diorama in preparation for GBWC 2011 here in the Philippines. Two weeks I was up for 48 hours straight working on my entry. Well better late than never, here is the continuation of Project Beta, this diorama was used for my first ever entry this year.

After building the base and trusses the next component of the dio was made, the platform for the Gundam to stand on. I measured 2 pla plates. One was cut into patterns.


Then the other one will be used to mount the cut patterns into the base as shown below.


The platform was mounted on the styro base ( i am very sorry i was not able to take a picture how i mounted it) by putting holes on the stryro base and placing plastic rods/sticks. This will be the support and mounting of the platform. It looks like this after mounting.

The styrofoam was covered with tissue and glue to ensure that the paint will adhere on the surface. All styro parts were masked with paper and masking tape. The trusses was painted with chrome and the pla plates was primed before painting. The rest of the dio was hand painted. Some details like a tree and light post were also added. This is the finished Project Beta enjoy ^_^


The metal trusses was given a rust effect and platform was given some scratch effect for it to look like it was weathered. This diorama was used for my GBWC 2011 PH entry with my HG 1/100 Nataku Assault Custom.

courtesy of Club-Gunpla Bandai South Asia

Thank you for viewing! ^_^

Project Beta - pt1

Nov 2, 2011

Project Beta

I have started on an new diorama project, this time i will be using other materials taking some inspiration from Project Alpha for the steel trusses. Initially I made a base made of Styrofoam that can be bought in bookstores. Size and width will depend on how sturdy the base should be considering the weight of the details, the kit and any other add-ons.

Actual base 12 in X 12 in X 2 in
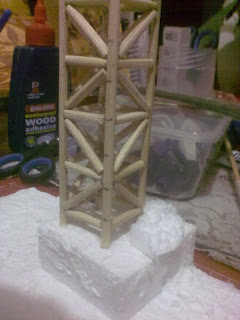
A metal truss was also added, the procedure in making the truss was the same method used in Project Alpha. A styro base was also used to elevate and mount the truss into place.


Another metal truss was mounted on a slanted slab and was cut. This will be the "unfinished truss"


Basically the design of the diorama will be a combination of metal and earth. The styro base will serve as the "earth" and the steel trusses for the :"metal". But to give the dio a more metal feel and to add texture. There is a provision for a metal base/platform. These will be created using pla plates. And will be discussed on the next post.

Thanks for viewing! ^_^

Project Beta - pt2

Oct 24, 2011

New Gunpla Tool Addition - Rechargeable hand drill

I am currently doing a project right now and it requires major modifications. I have resorted to armor breaking and pla plate add ons with the use of my handy hobby knife, side cutters, rulers and cutting mats. What stopped me was when i wanted to put holes for the thrusters, rivets and screws.
Hobby Knife

Side Cutter and Orange cutting mat
I searched the internet for me to find something that would do the job.
The top choices were:
1. Pin vises (like a screwdriver in which you insert a drill bit on the tip) and
2. Drills (hand drills e.g Tamiya handy drill)

Pin Vise
Hand Drill
I went around malls searching for both tools. I have found them to be expensive ranging from 1000 Php to 4000 Php. Since I am on a very tight budget i went to a local market in manila where they sell electronic devices at a very low cost, the place is called RAON at Quiapo Manila.

There i found this baby! ^_^ A rechargeable hand drill that cost 800Php, this includes:
1. 1mm drill bit
2. 2 grinding stones
3. Embosser
4. Chuck nuts to hold varied drill bit sizes

They also have hand drills that are battery operated ranging from 350Php to 700Php. Nice deal huh! Will be trying this tool on my current project and I hope that I make a lot of modifications on my new tool.

Thanks for viewing! ^_^

Twitter Delicious Facebook Digg Stumbleupon Favorites More