
Since the main goal was to make the kit a projectile type MS double gatlings is not enough so i decided to make missile launchers. This is how i did it.
After taking the double gatlings I was left with the double barrel holders (left). What i did was modify this "leftover" to become a missile launcher.
Drilled holes to nest 6 missiles.

And placed pla plates to support the missile heads

I decided to mount the missile launcher on the legs of the gundam. This was achieved by using spare PC joints.


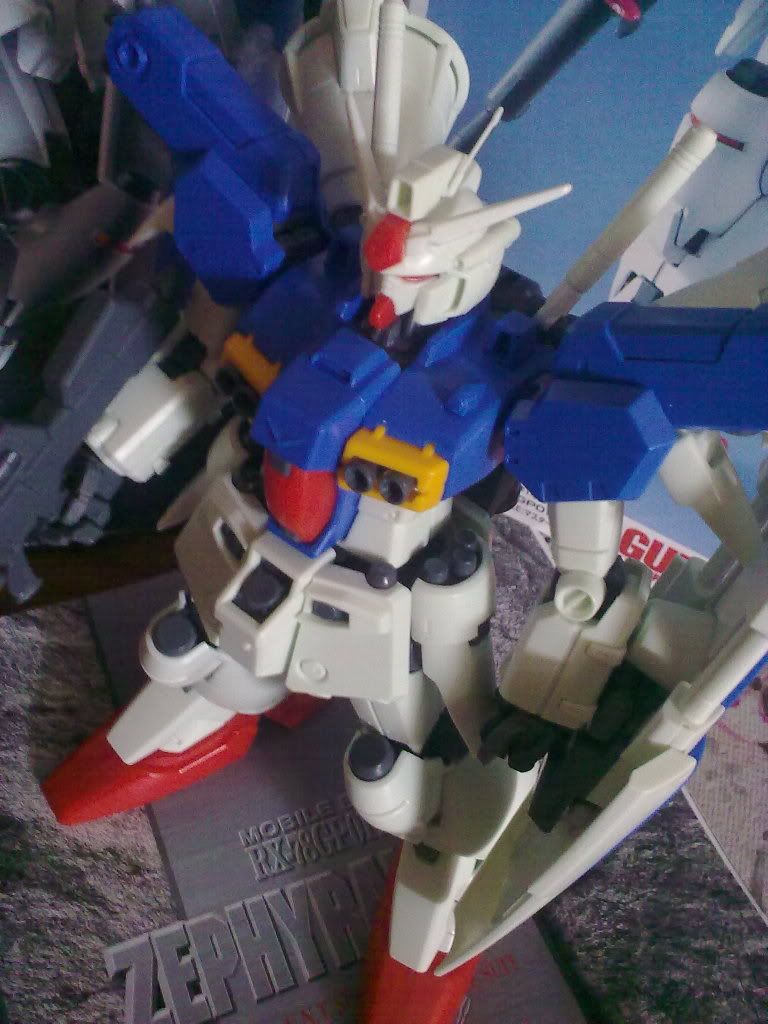
And this is how it looks like after mounting.
 |
| It is movable - Yeah! |
For the missile head i used some busted fuse. Just have to remove the glass from the fuse and take the metal heads.
Some minor modifications done on the legs and feet.
 |
| made openings on the legs |
 |
| pla plates added on the foot |
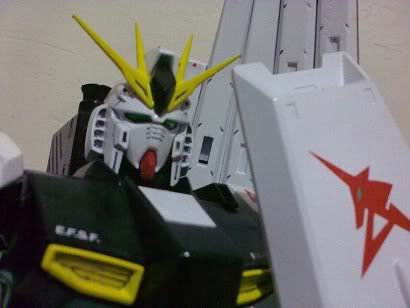
Used the spare chest plate of nataku and added a skull (from MG crossbone spare) and made openings on both sides.
 |
| Nataku Chest plates: Left (Spare), Right (current) |
 |
| Current |
 |
| Replaced by new chest plate |
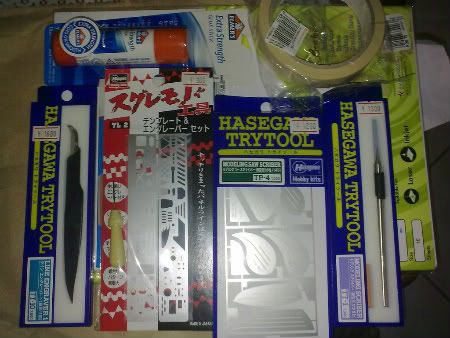
The leg was modified by adding vents on each side of the legs using the upper leg of a 1/144 Astray red frame, tamiya cement, pla plates and putty to cover the crevices
 |
| The upper leg of an 1/144 Astray red frame was cut and used for the vents |
 |
| I used pla plates and putty to cover the holes |
 |
| Inserted a square type IC pin on the hollow portion - see that silver and black? ^_^ |


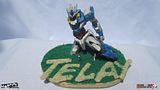
This is the finish product and my entry for GBWC 2011. Also my first ever entry in a gunpla contest. It took me 3 sleepless night to finish this. @_@
Take note of the modifications I've done that i was not able to show and discuss. IC pins, missle launcher accents, side vents on the shoulder, skull design on front chest (from MG crossbone spare)


Thank you for viewing!