Dragon Age: Origins

Dragon Age: Origins Introduction, Gameplay, and player screenshots.

Project Alpha: Steel Truss Diorama

First diorama project to create a maintenance bay.

Hobby Tools and Supplies

Project tools, equipments, construction supplies that i came across during gundam building and papercrafting.

Master Grade 1/100 GP01-Fb Fullburner Gundam

Straight build of Master Grade Gundam 1/100 GP01-Fb. Includes work-in-progress and final build.

Starting my own blog

Just a preview on what to expect from this blog. About the owner and contents of Veni Vedi Vici.

Nov 29, 2011

Project Beta - pt2

I've become very lazy in uploading work in progresses since i was busy building kits and diorama in preparation for GBWC 2011 here in the Philippines. Two weeks I was up for 48 hours straight working on my entry. Well better late than never, here is the continuation of Project Beta, this diorama was used for my first ever entry this year.

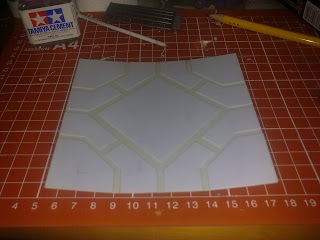
After building the base and trusses the next component of the dio was made, the platform for the Gundam to stand on. I measured 2 pla plates. One was cut into patterns.


Then the other one will be used to mount the cut patterns into the base as shown below.


The platform was mounted on the styro base ( i am very sorry i was not able to take a picture how i mounted it) by putting holes on the stryro base and placing plastic rods/sticks. This will be the support and mounting of the platform. It looks like this after mounting.

The styrofoam was covered with tissue and glue to ensure that the paint will adhere on the surface. All styro parts were masked with paper and masking tape. The trusses was painted with chrome and the pla plates was primed before painting. The rest of the dio was hand painted. Some details like a tree and light post were also added. This is the finished Project Beta enjoy ^_^


The metal trusses was given a rust effect and platform was given some scratch effect for it to look like it was weathered. This diorama was used for my GBWC 2011 PH entry with my HG 1/100 Nataku Assault Custom.

courtesy of Club-Gunpla Bandai South Asia

Thank you for viewing! ^_^

Project Beta - pt1

Nov 2, 2011

Project Beta

I have started on an new diorama project, this time i will be using other materials taking some inspiration from Project Alpha for the steel trusses. Initially I made a base made of Styrofoam that can be bought in bookstores. Size and width will depend on how sturdy the base should be considering the weight of the details, the kit and any other add-ons.

Actual base 12 in X 12 in X 2 in
A metal truss was also added, the procedure in making the truss was the same method used in Project Alpha. A styro base was also used to elevate and mount the truss into place.


Another metal truss was mounted on a slanted slab and was cut. This will be the "unfinished truss"


Basically the design of the diorama will be a combination of metal and earth. The styro base will serve as the "earth" and the steel trusses for the :"metal". But to give the dio a more metal feel and to add texture. There is a provision for a metal base/platform. These will be created using pla plates. And will be discussed on the next post.

Thanks for viewing! ^_^

Project Beta - pt2

Oct 24, 2011

New Gunpla Tool Addition - Rechargeable hand drill

I am currently doing a project right now and it requires major modifications. I have resorted to armor breaking and pla plate add ons with the use of my handy hobby knife, side cutters, rulers and cutting mats. What stopped me was when i wanted to put holes for the thrusters, rivets and screws.
Hobby Knife

Side Cutter and Orange cutting mat
I searched the internet for me to find something that would do the job.
The top choices were:
1. Pin vises (like a screwdriver in which you insert a drill bit on the tip) and
2. Drills (hand drills e.g Tamiya handy drill)

Pin Vise
Hand Drill
I went around malls searching for both tools. I have found them to be expensive ranging from 1000 Php to 4000 Php. Since I am on a very tight budget i went to a local market in manila where they sell electronic devices at a very low cost, the place is called RAON at Quiapo Manila.

There i found this baby! ^_^ A rechargeable hand drill that cost 800Php, this includes:
1. 1mm drill bit
2. 2 grinding stones
3. Embosser
4. Chuck nuts to hold varied drill bit sizes

They also have hand drills that are battery operated ranging from 350Php to 700Php. Nice deal huh! Will be trying this tool on my current project and I hope that I make a lot of modifications on my new tool.

Thanks for viewing! ^_^

Oct 7, 2011

Papercraft

Since I have been very busy at work, most of my projects were postponed and delayed - even got my facebook account deactivated in the process. But during these times I have still managed to acquire a new hobby. Its called papercrafting, what got me into the hobby well a friend of mine asked me to make one for him since he thinks i am capable of accomplishing such task! Since I am up for the challenge I accepted the job - first ever.

He ordered 3 chibi papercraft gundams and gave me the download links. I immediately did some research and since iv been doing cubeecraft in the past I am already familiar with the craft.

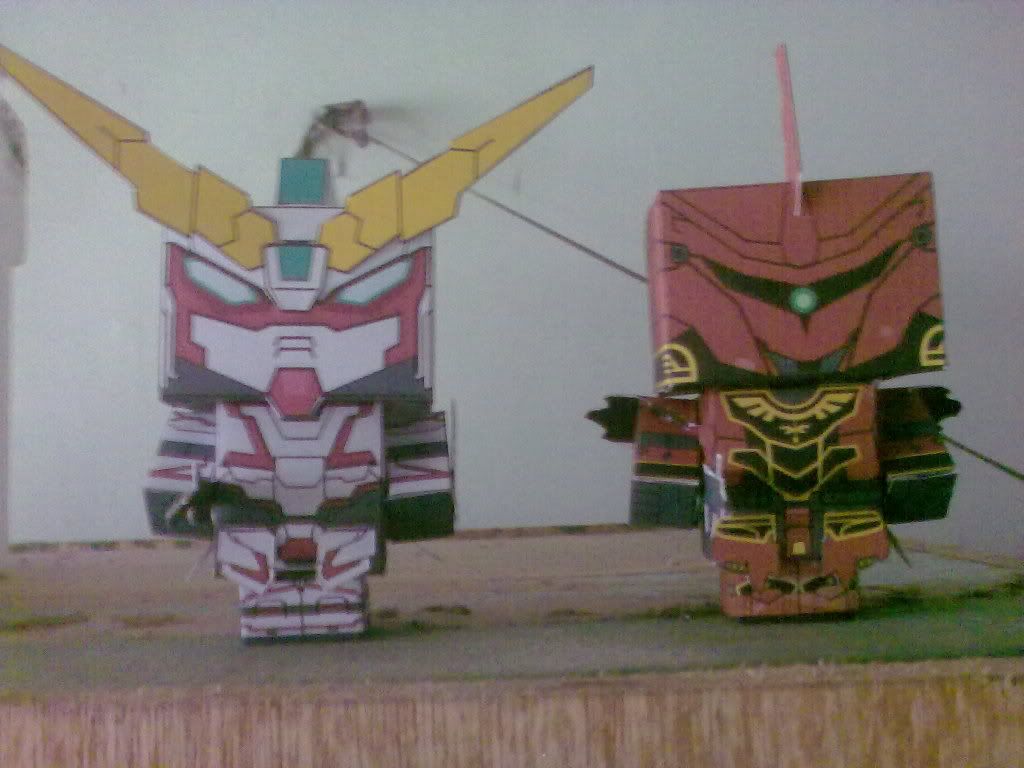
Cubee craft - My SD Unicorn and SD Sinanju
Basically what you need are as follows (based on research and recommendations of experts)
1. a pattern of the design you want to build,
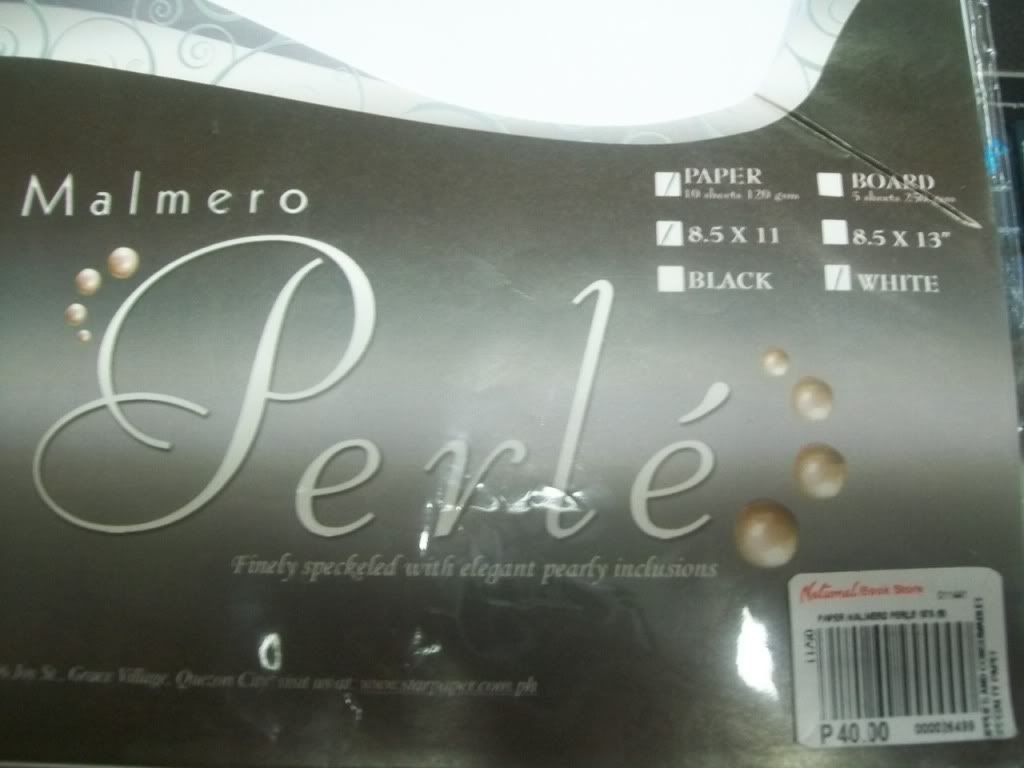
2. special type of paper (120GSM, white)
3. a good printer (gloss finish or matte)
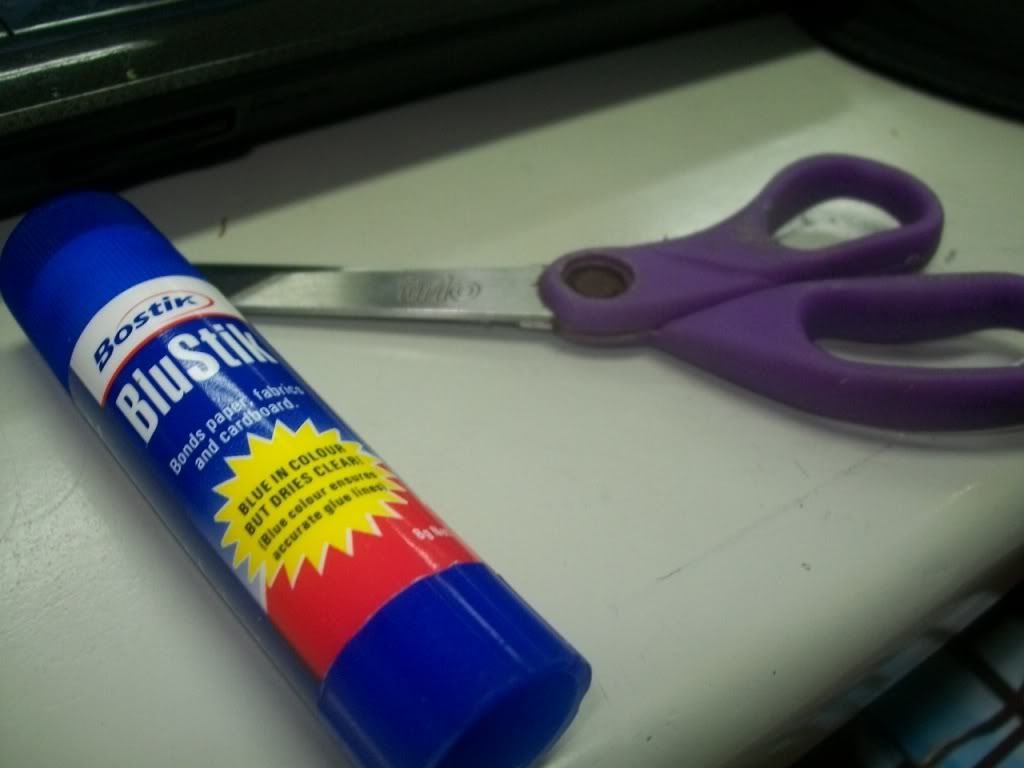
4. scissors
5. hobby knife
6. and quick drying glue (Quick drying)
7. tweezers (optional but very helpful)
design pattern
120 GSM A4 paper (current)
glue (quick dry) and scissors
hobby knife
tweezers - ooohhhh shiny!

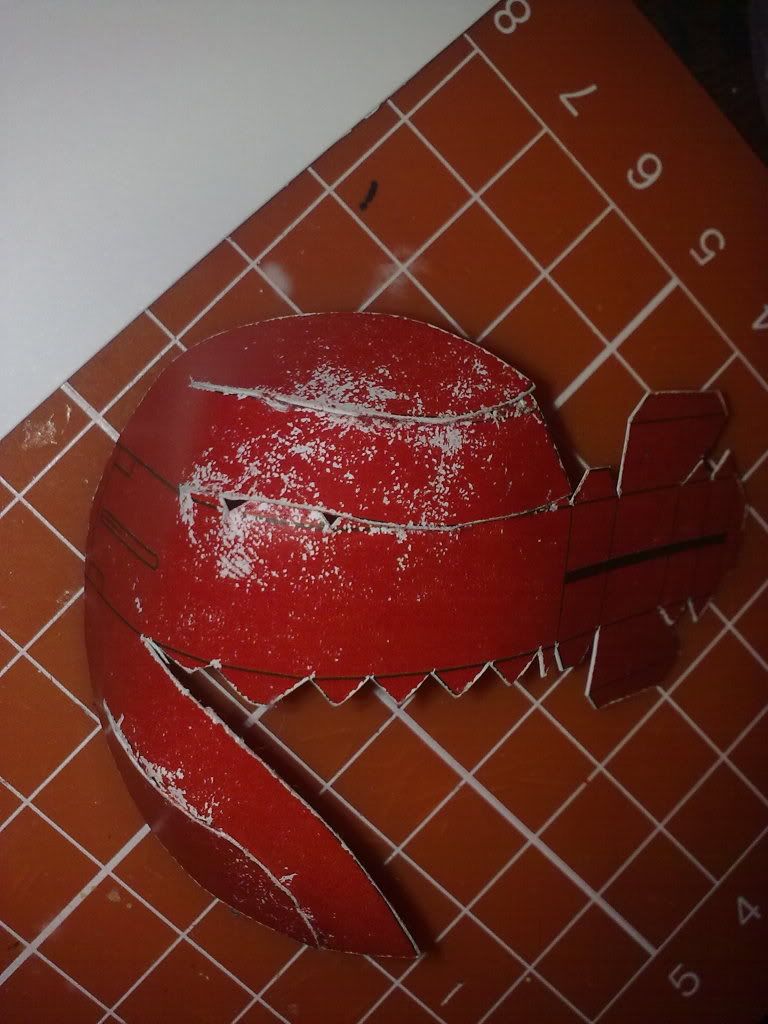
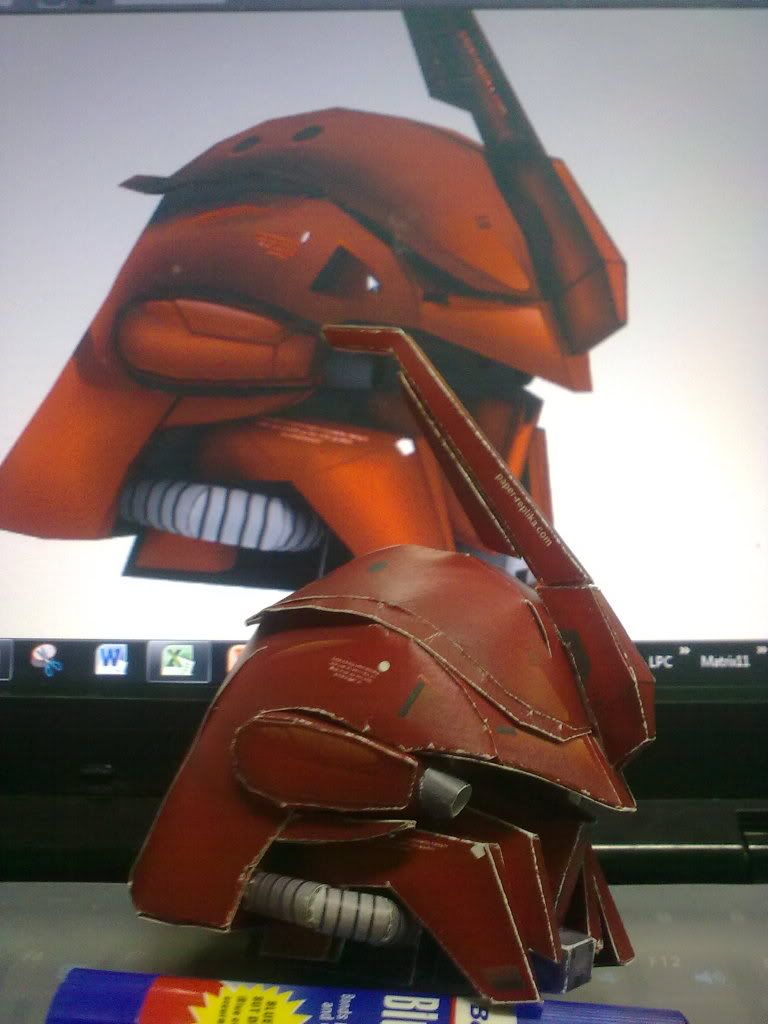
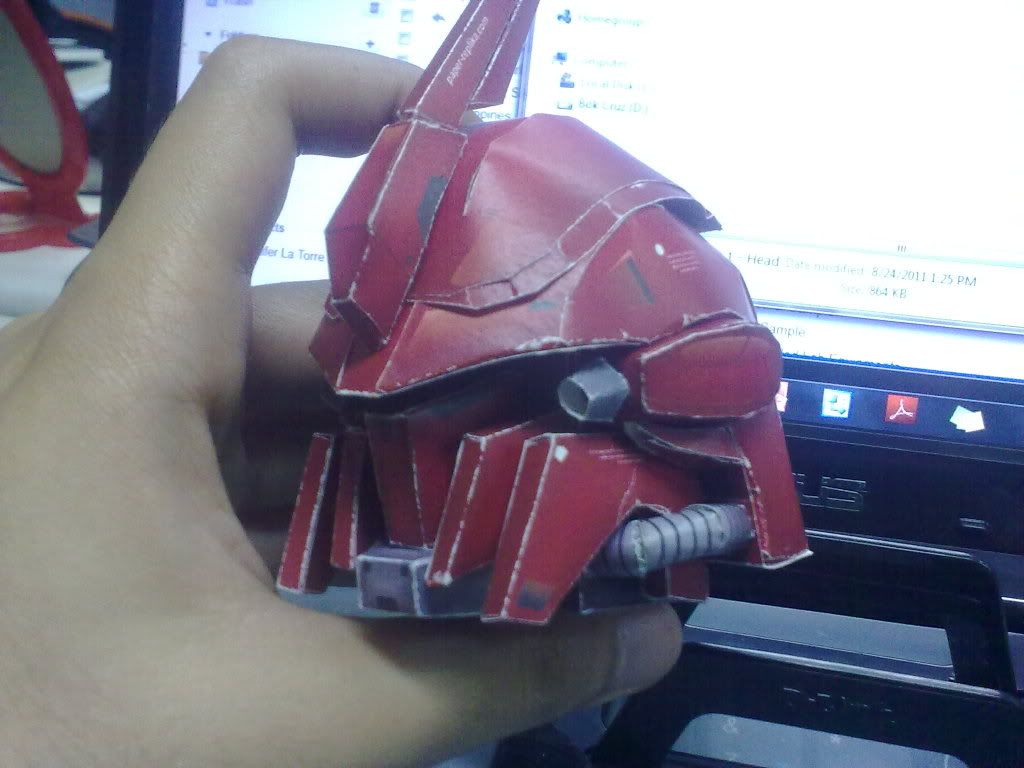
My first project was a chibi or SD (super deformed) red zaku, but unfortunately i had issues with the print out and later realized that there are paper and ink (printer) compatibility issues. I used a cardboard type of paper and wax coated printout. The print chipped off from the paper when folded or scratched.

whaat the!!!

I shifted to a different type of paper (non cardboard) but still at 120 gsm which solved the chipping issue. Which i tried on a sinanju papercraft which i find very satisfactory.

not bad for a first timer
I think the scale is somewhere between 1/40 or 1/50

The sinanju really looks badass even on paper!
Well as for the 3 chibi projects, had many issues and was not able to continue. I need an A3 printer to continue since using A4 paper produces very small cut out parts - pain in the a$$. One of the project has lacking parts due to incomplete patterns - GX bit project officially dropped!

Here are some links that can help you start with this craft.
Tutorials and Patterns - http://paper-replika.com/
More Sinanju photos

Thanks for viewing!

Aug 30, 2011

1/100 MG Deathscythe ver k.a.

This is the compiled photos for my MG Deathscythe XXXG-01D Gundam piloted by Duo Maxwell from the Gundam Wing Endless Waltz Series.

Some Facts:
The Gundam specializes in both stealth and close combat, and its main armament consists of its signature beam scythe and a small shield which can emit an energy blade, and the shield can be fired at distant enemies. Another feature of the suit is its Hyper Jammer ECM (electronic countermeasure) system that emits jamming particles, rendering the Gundam practically invisible to electronic sensors and giving it unparalleled stealth in combat.

Source: Wikipedia

This is the unpainted, no seam sealing, no decals, no mods just a straight build out of the box version!

This is what the box looks like
The Box Art
Opening the box you will find the runners! Yay! It has 15 runners in total. Comes with marking seal and Gundam Decal (designed by Hajime Katoki-sensei) the reasn why it was called ver k.a (katoki)
Runners must be pre-inspected first for damages prior to build!

So to start off with building i usually start with the head!


Then start building the torso. Nub marks are very well hidden on most of the new releases (2007 onwards) of bandai!
The torso
Attached the head to the body!


The shoulder

The upper body

Then start with the lower body.
I have lost track with the lower body since i was so absorbed during building i forgot to take pictuies. Hahaha

Well this is the final product! The built 1/100 MG Deathscythe XXXG-01D Gundam
I love this pose! Very bad ass!


The kit has no stability issues. Can perfectly carry the scythe with no problems!

Nicely done! I am planning to paint this but no mods will be done. Add some decals and this kit can now destroy some mobile suits! ^_^ Will be adding some studio photo for this!

Thanks for viewing and i hope you enjoy! Leave some comments!

Photo album link: 1/100 MG Deathscythe Ver k.a.

Aug 19, 2011

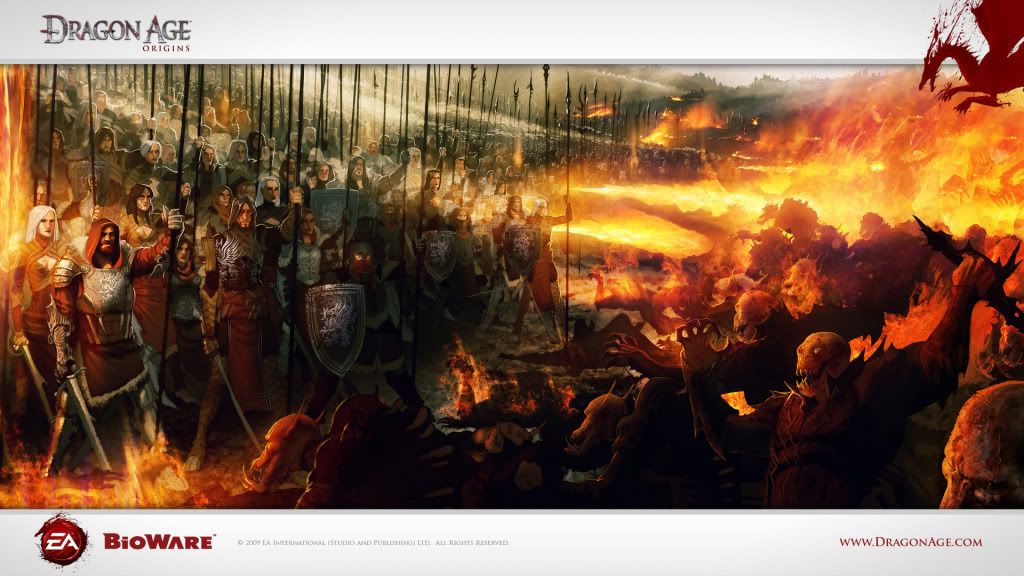
Dragon Age: Origins - Introduction


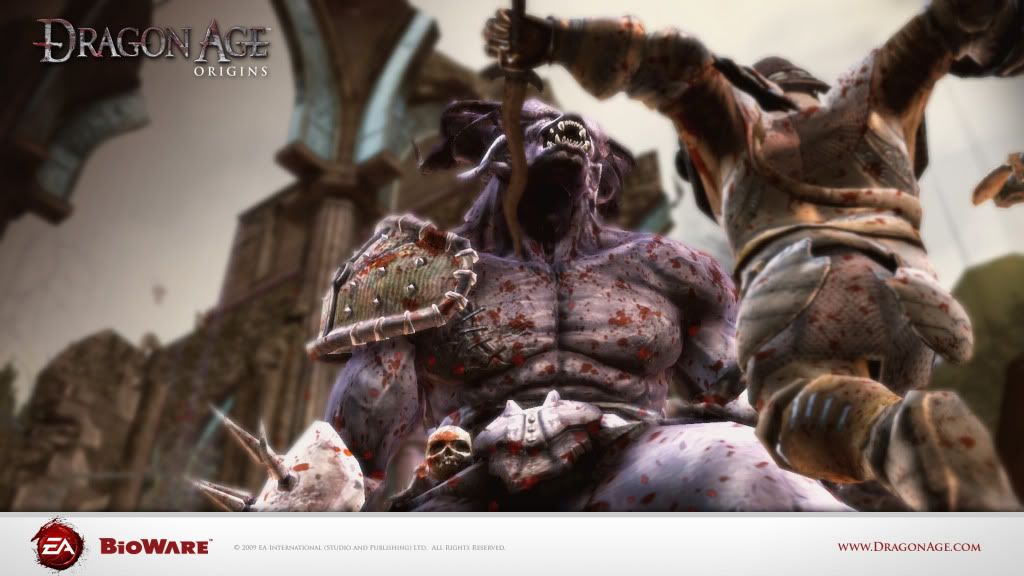
Dragon Age: Origins is a single-player role-playing video game developed by BioWare's Edmonton studio and published by Electronic Arts. It is the first game in the Dragon Age franchise. The game was released for Microsoft Windows, PlayStation 3 and Xbox 360 on November 3, 2009, and for Mac OS X on December 21, 2009. Read more

Source: http://en.wikipedia.org/wiki/Dragon_Age:_Origins

Destroy the Darkspawn


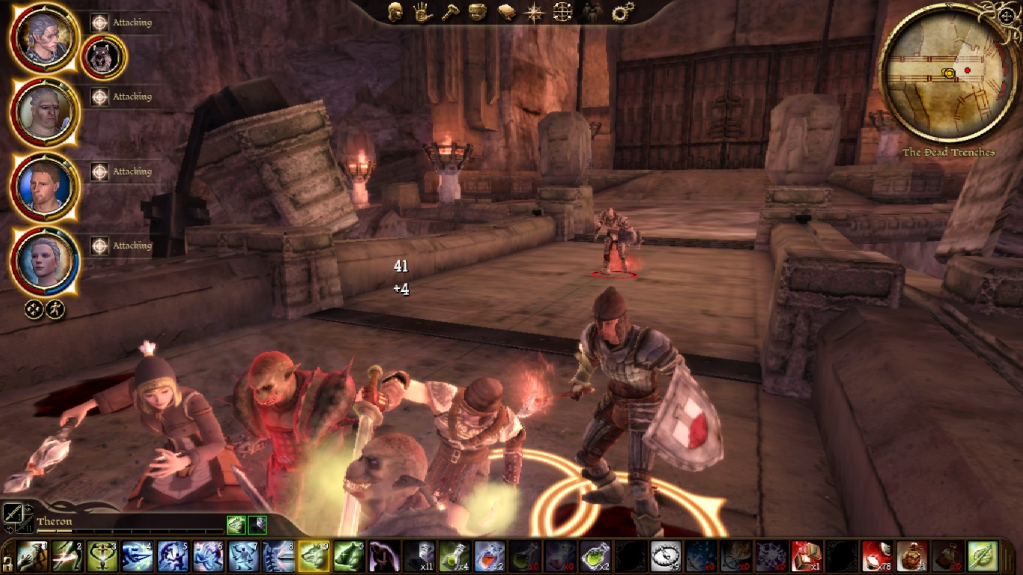
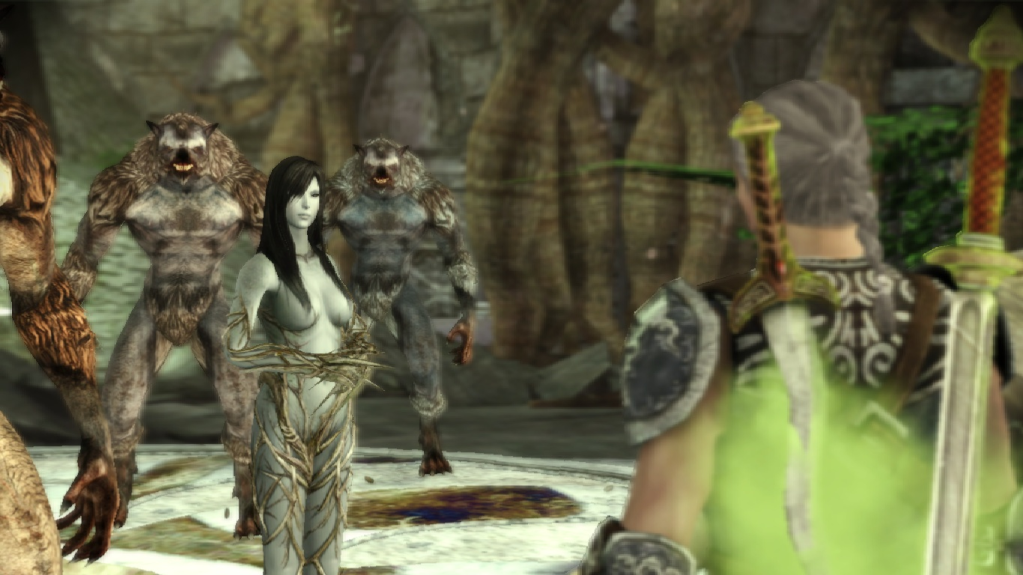
Iv started playing DAO this year and the graphics are really good!!! Well i guess it depends on your video card. If you're a fan of the baldurs gate installments you will definitely like this game! Here are some of the screenshots from the story line!

During the gameplay you gain allies to help you accomplish your task to defeat the darkspawn. These allies are not permanent since they can leave anytime depending on your approval rate. Approval rate is affected by your decisions and choices during dialogues, quest, and conversations. The higher the approval rate the more likely the ally will stay and the lower the rating the more likely they will leave the party, sometimes triggering one on one battles.

Higher approval rates gives bonus to skills and possible romance. (Oh yes there is romance! - nice)

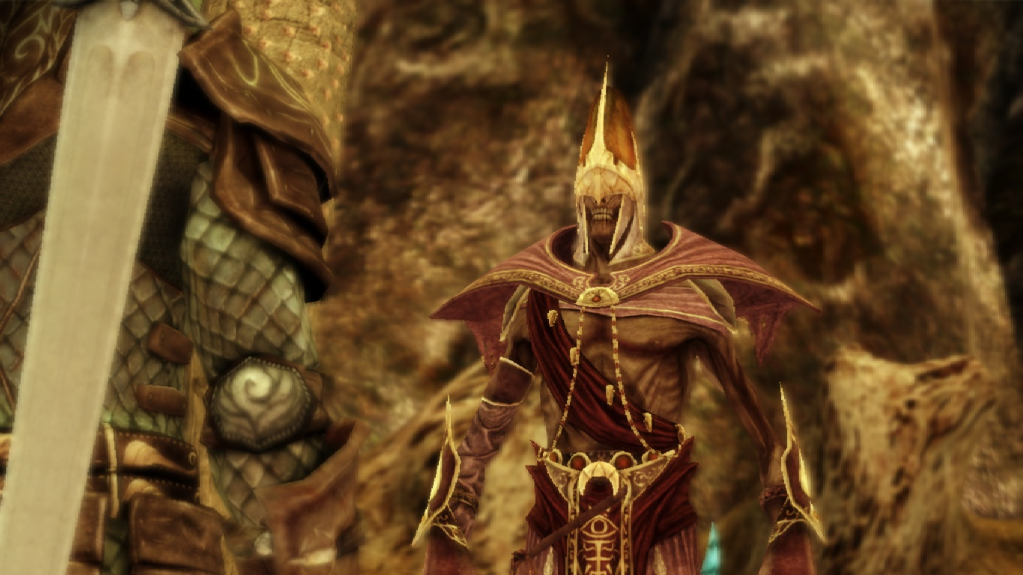
Darkspawns, these are the creatures you are trying to obliterate, from humans, elfs, dwarves, mages, undeads, demons, beasts and dragons. Yes there are dragons (why call the game dragon age if it has no dragons, hehe).

BTW I am using a Rogue elf.
I wish i was as bad ass looking as you!

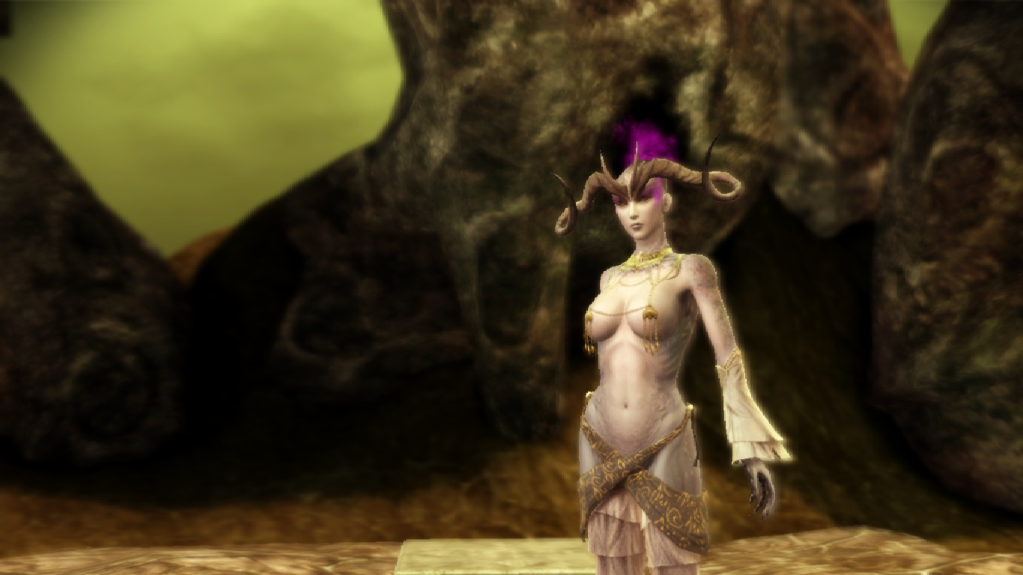
Demon of desire - zoom function does not work. ^_^
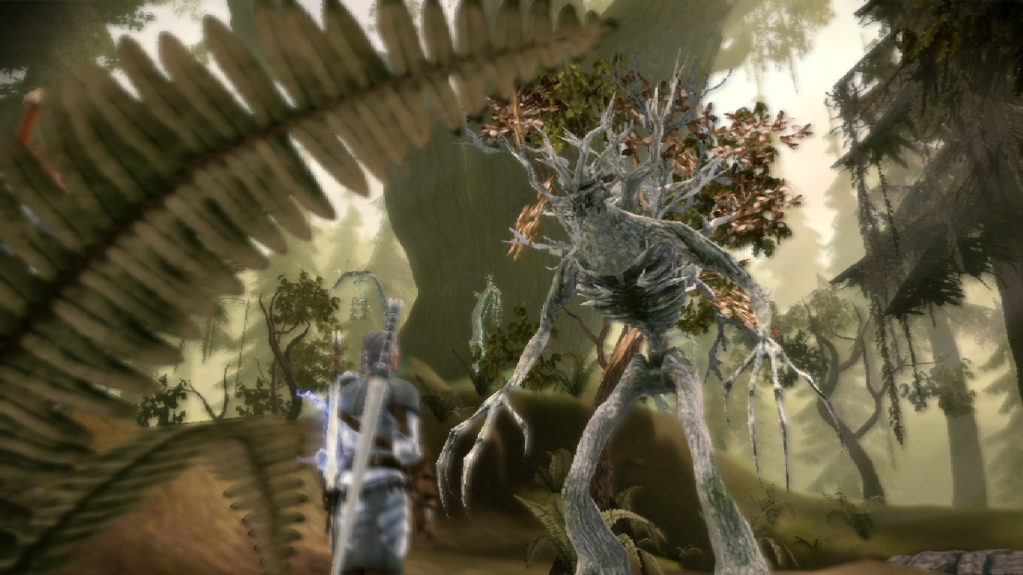
Stop throwing acorns at me

We cant fight like this, your'e naked

Character development is very diverse, from weapons to equipments and job specializations. Yes characters can take specialization. Mage can be healers, shape shifters, blood mages. There are assassins, bards, warriors and a lot more. Job specialization depends on your base job. For example warriors cant take mage class specializations. Specializations gives you unique skills so one must be careful in choosing specializations

Specializations can be bought from merchants and some are unlocked from your party members and quest. Some class like the Reaver and Blood Mage (one of the strongest class) can only be unlocked during quest conversations. You may piss off some party members in the process though. I turned my rogue into a duelist (two handed weapon master) and a ranger (beast summoner) giving it a melee and ranged combat expertise.

I will be adding some of my progress and awesome screenshots on my next post. I am currently near the end of the game though.

Thanks for viewing. Try the game it's awesome! ^_^

Project Alpha - pt3

I've been doing a lot of other stuffs lately so the progress has really slowed down. So here are the next steps.

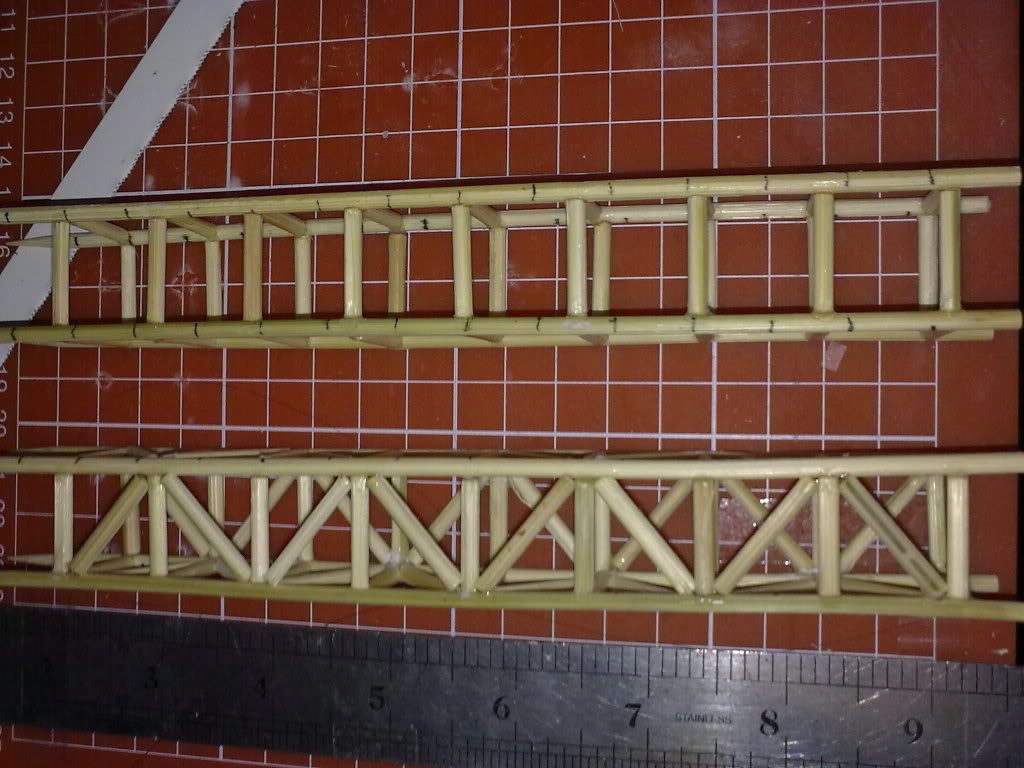
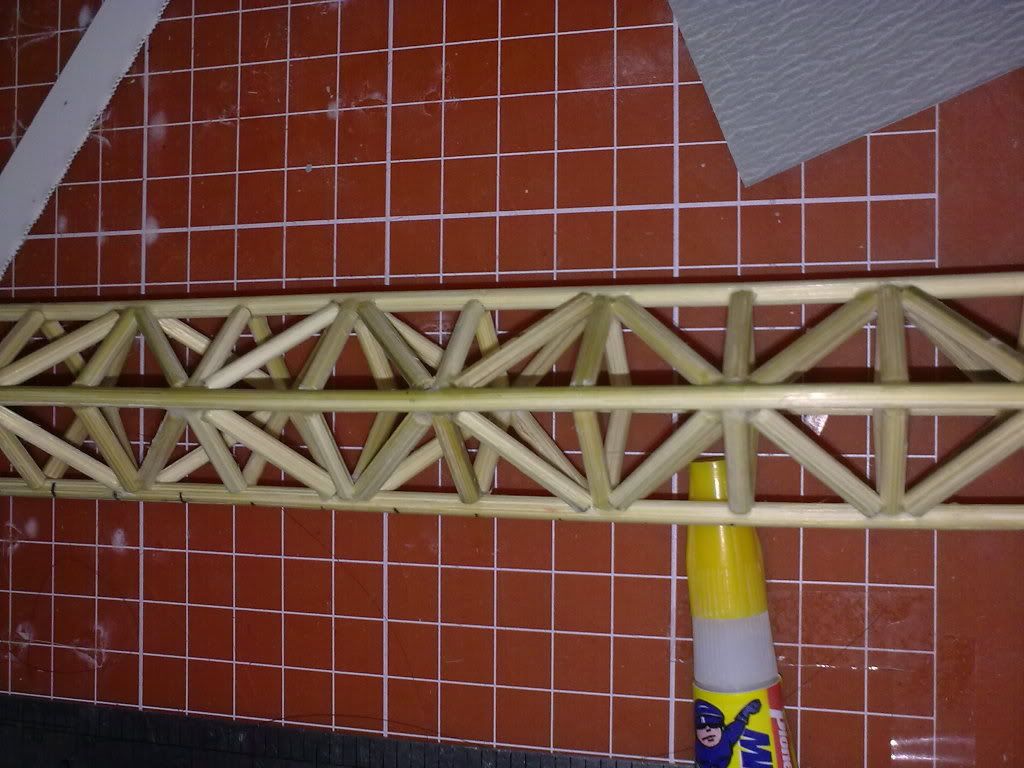
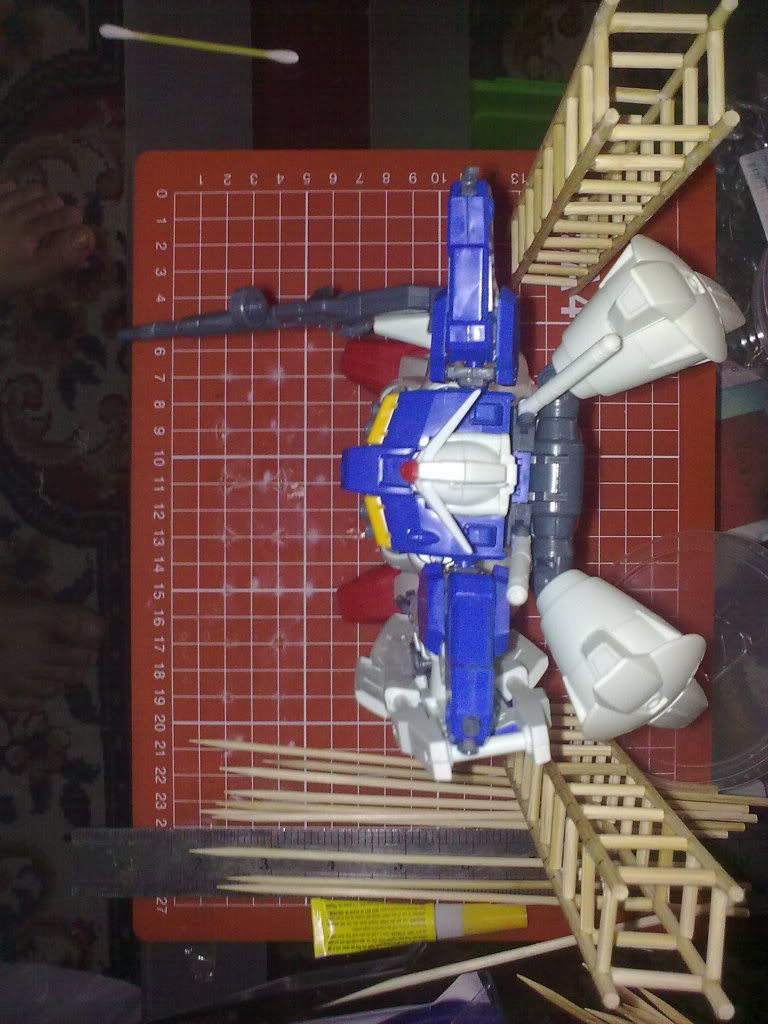
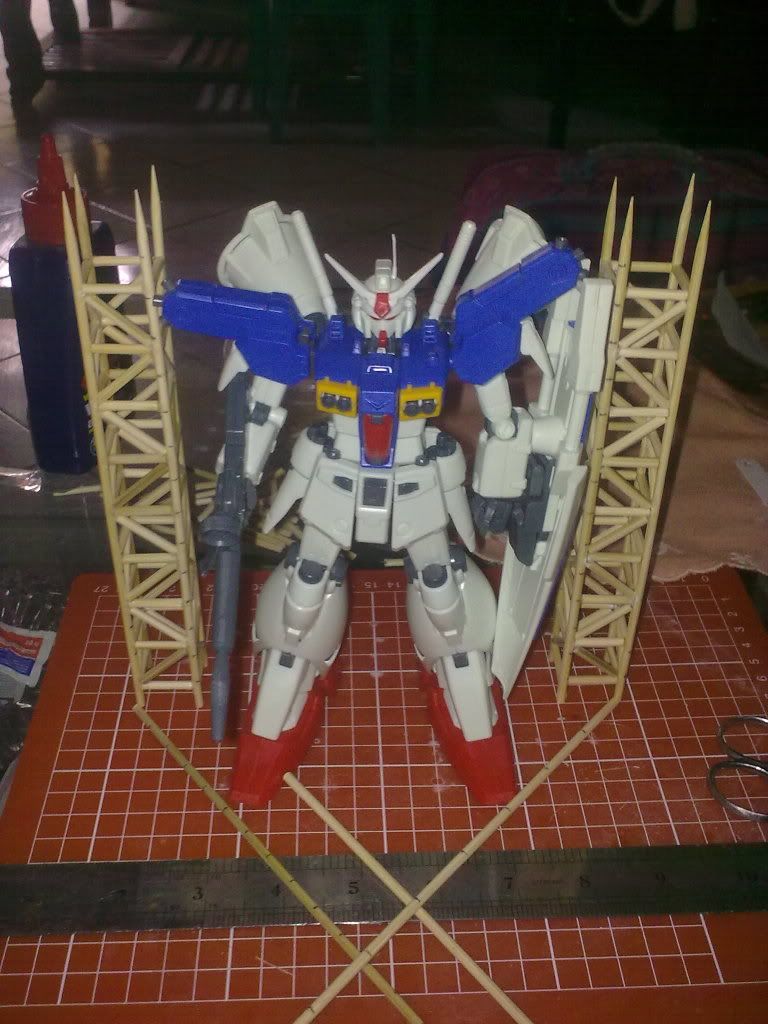
After creating the main body of the truss, diagonal pegs were added.


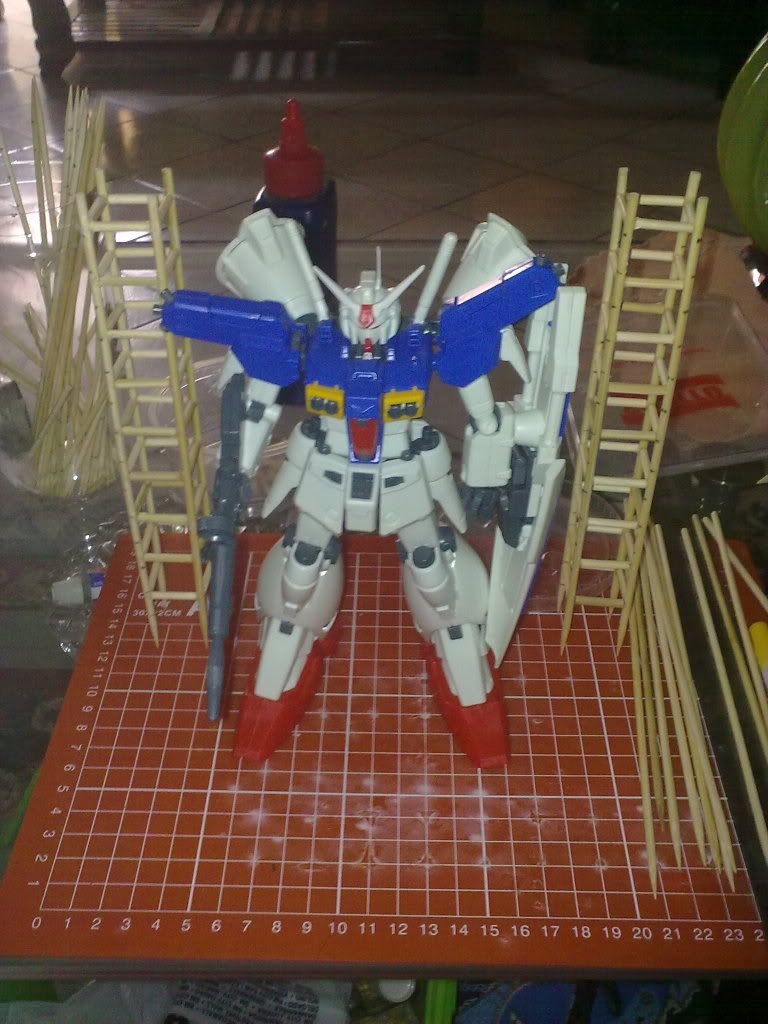
Once the main beams of the diorama are completed, its time to do some trials. I used my MG 1/100 GP01-fb full burner gundam for this.


The vertical beams are almost of the same height as the kit, so I consider this as good since the dio will still have a base. 
 
There is a provision to add diagonal trusses in which I was trying to layout on during this trial. The same process was done in creating the pegs. But it is more tedious that the vertical ones.


The completion of this project is around 5-10%. On my next post i will be sharing the sketch of this project. The metal truss will also be used on my 2nd project which i will also use a different construction material.

Thanks for viewing!

Twitter Delicious Facebook Digg Stumbleupon Favorites More